In this tutorial, we will demonstrate how to spray a test card. This process includes applying base color coats and clear coats. Let's look at the steps:
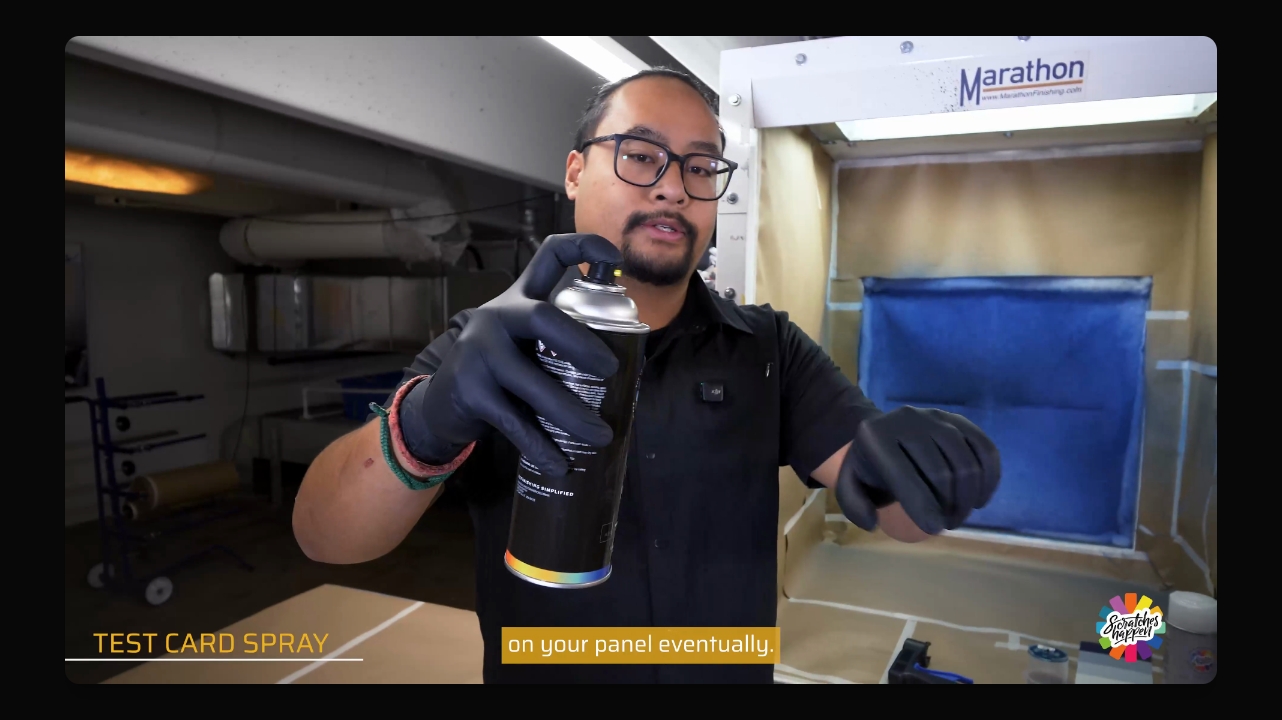
Step 1: Note How to Press Down the Aerosol Nozzle
When you spray an aerosol can, make sure you press the nozzle straight down.
Avoid tipping the nozzle forward because the nozzle fan can catch on the ridge of the can, create a puddle of paint inside the ridge that then drips spots on the panel.
Step 2: Install the Trigger
When installing your aerosol trigger, ensure it is positioned straight on top and that the nozzle is aligned properly.

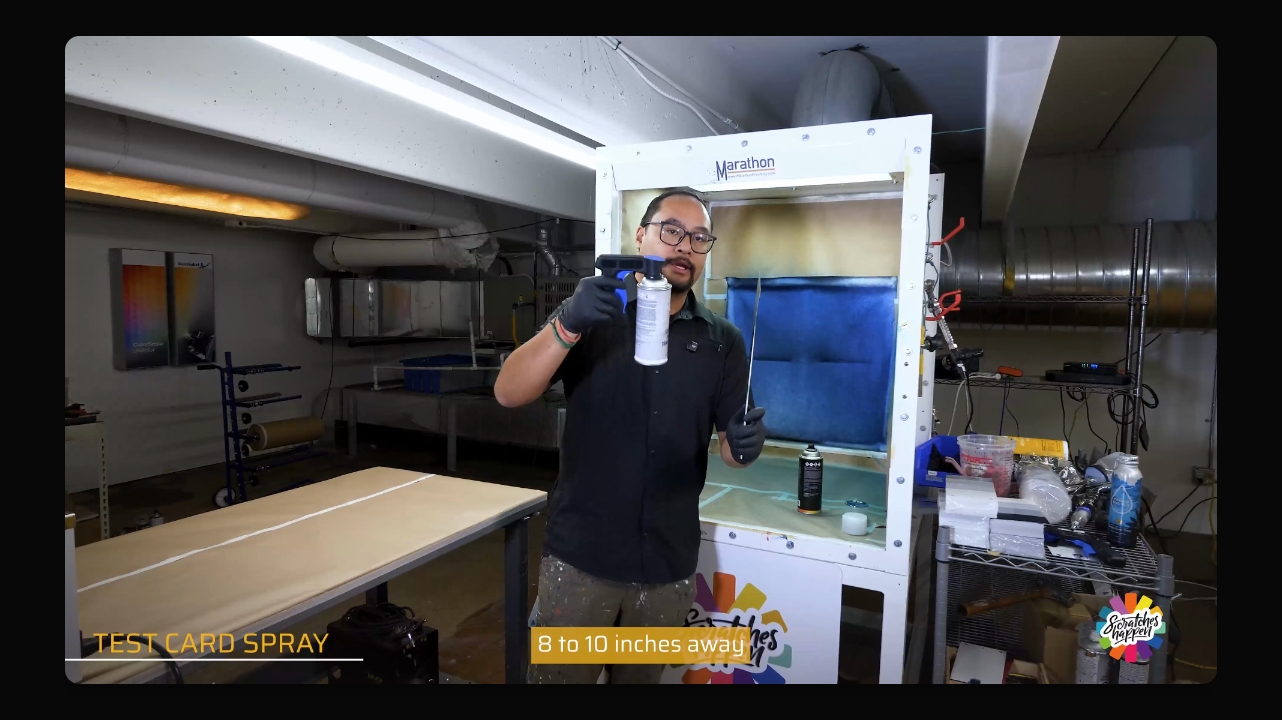
Step 3: Apply Base Color Coats
Spray medium wet coverage coats from about 8 inches away, maintaining a 50% overlap.
Step 4: Allow Drying Time between Coats
Allow up to 20 minutes between coats, but drying time may vary based on temperature and humidity.

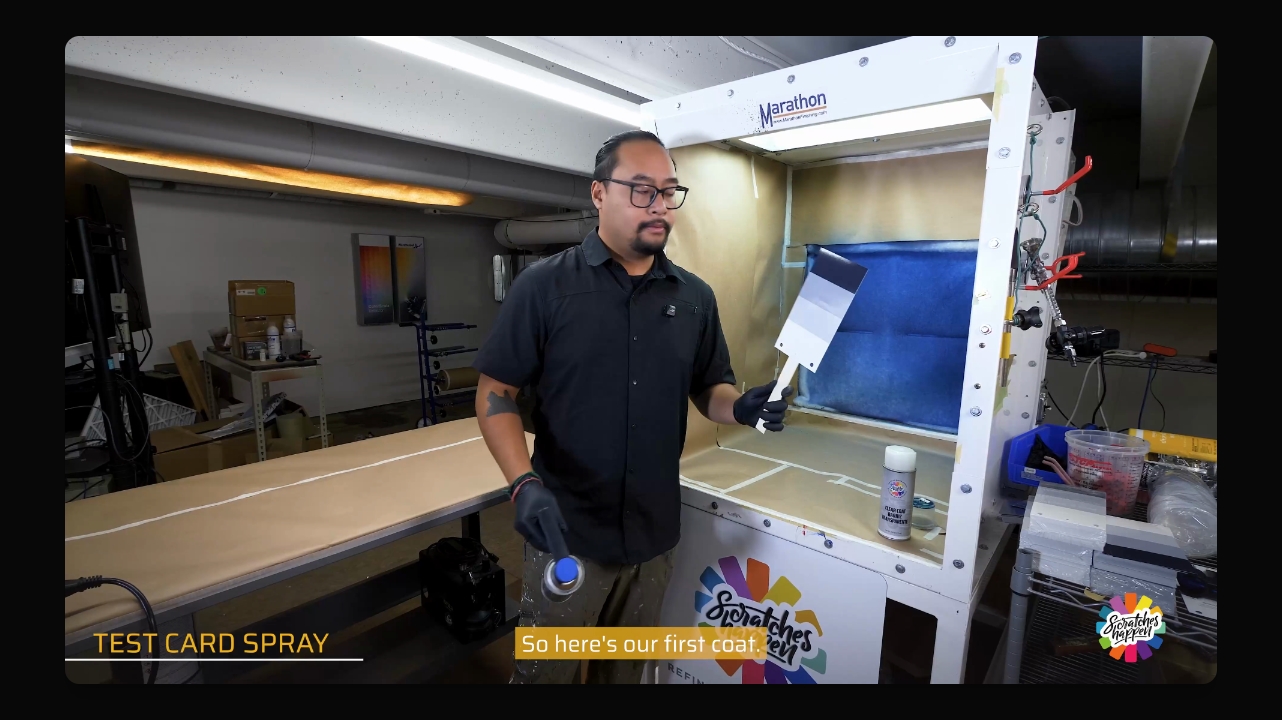
Step 5: Evaluate Coverage
After the second coat, check if coverage is sufficient. You may need additional base color coats depending on the color and transparency.

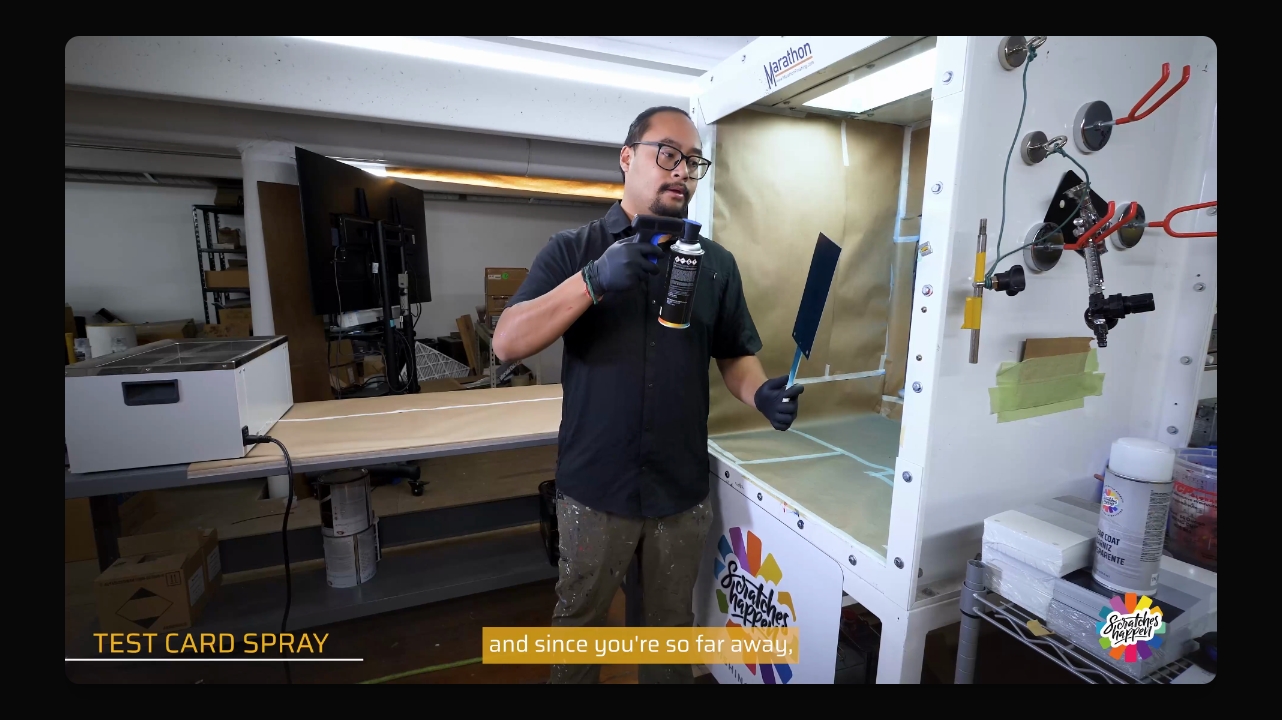
Step 6: Apply Drop (or Top) Coats
For drop coats (also called orientation coats or top coats), keep the can about 10-12 inches away from the panel and move slowly to avoid texture. There are finishing passes to help align the metallic or ceramic flakes in metallic and pearl colors. Focus on even distribution of the metallic.
Step 7: Spray Clear Coat
Once the base color coats are dry, use the same aerosol trigger for the clear coat, maintaining an 8-to-10 inch distance and parallel to the panel.
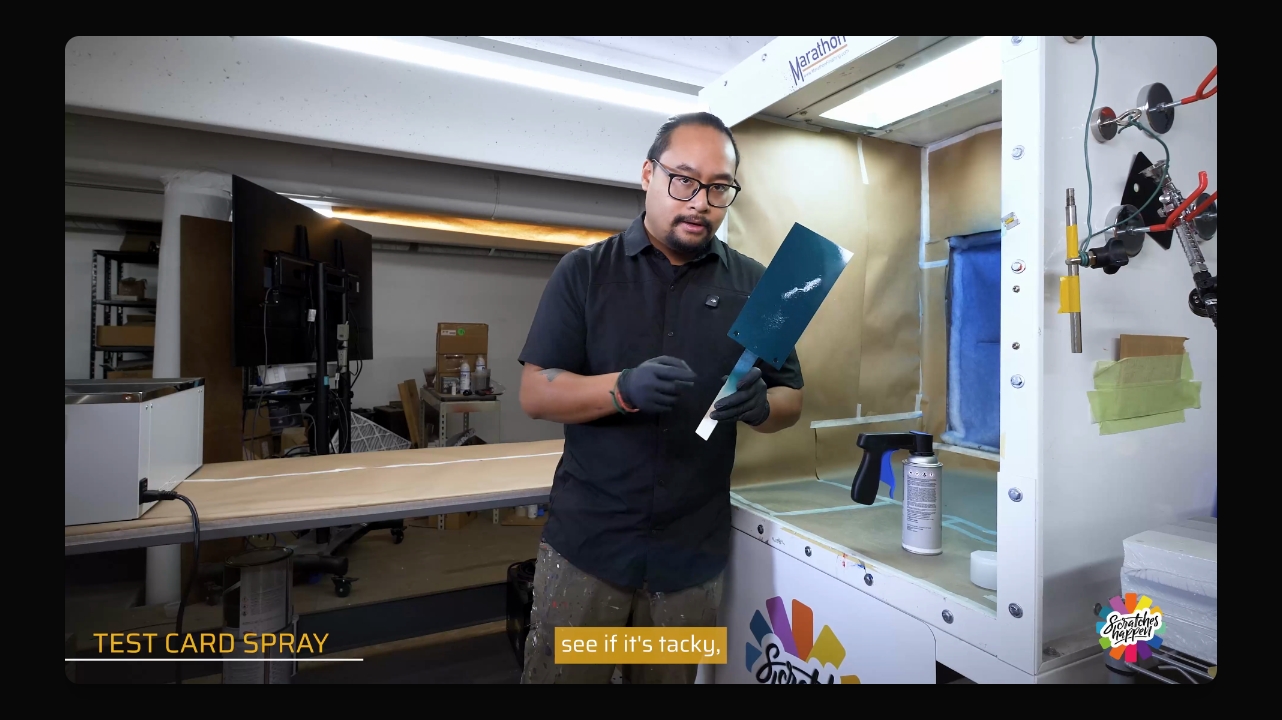
Step 8: Check for Tacky Surface
After the first coat of clear has flashed off, check a masked area to check if it is tacky and you're ready for the second coat.
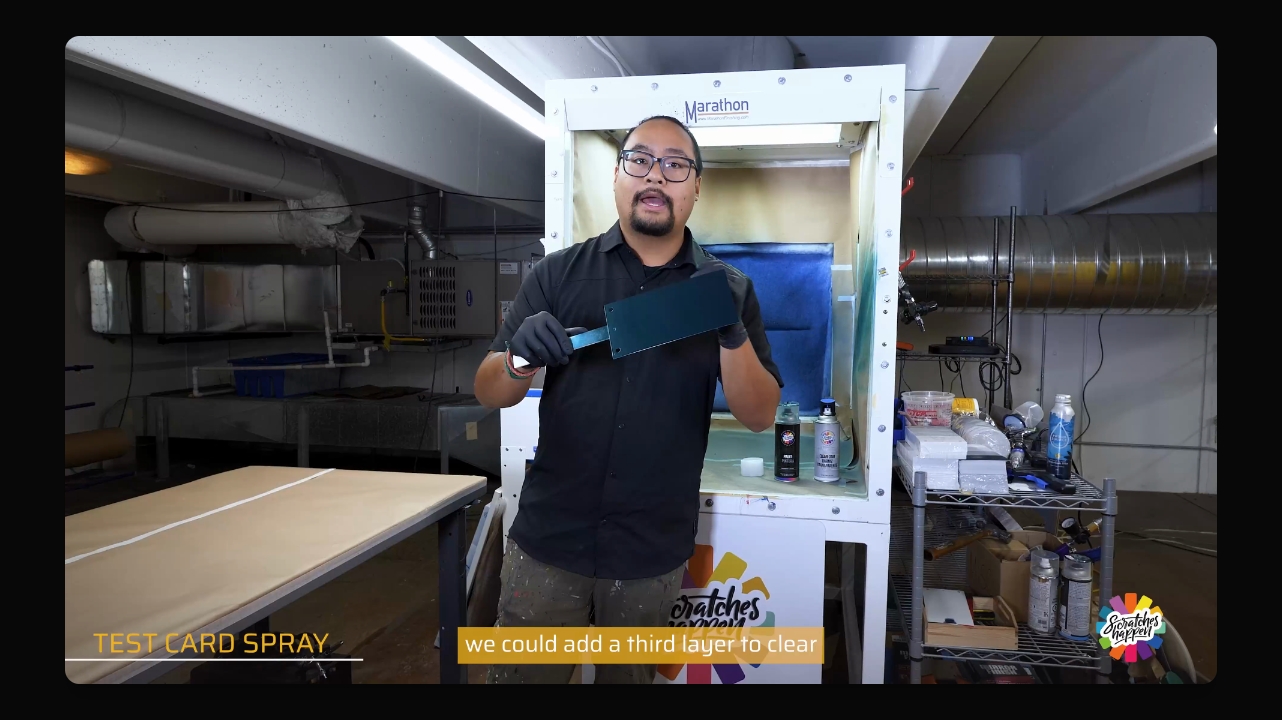
If needed, you can apply a third layer of clear, taking into account the drying conditions of your environment.
Thank you for watching this tutorial. Be sure to check out more videos for additional tips and techniques.
Related Content
Learn more — from application instructions to completing a flawless, factory-matched finish.
How to Spray ScratchesHappen Touch Up Paint
See our video on YouTube about how to spray touch up paint.
Red Automotive Paint: Why Our Brains Notice Red Faster
Human visual acuity means red always stands out, which is why we explain how red works.
Blue Automotive Paint: Transparent Pigments at Work
Defined by depth rather than coverage, blue paint gets its visual impact from how light travels through the color layers.