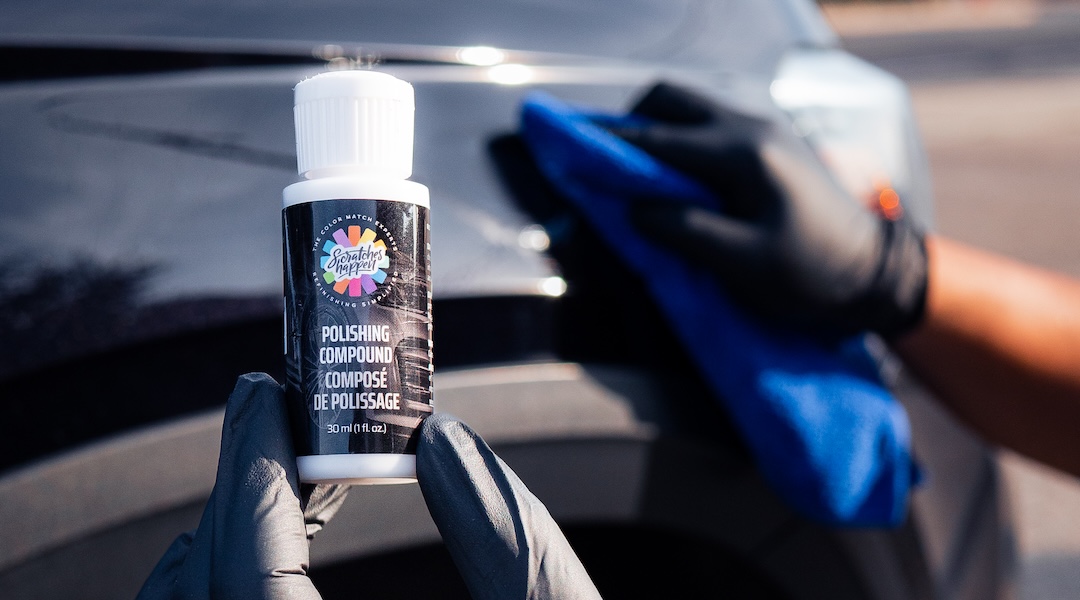
What Is Polishing Compound Used For?
ScratchesHappen Polishing Compound is a water-based, fine finishing polish designed to refine painted surfaces and restore gloss. It uses advanced ceramic abrasives to polish efficiently with low heat and minimal dust, leaving a smooth, hologram-free finish.
Common Uses
Tap to expand usage.
Restoring gloss after wet sanding
Wet sanding used during a repair can dull the surrounding factory clear coat. Polishing restores gloss and clarity.
Blending touch-up repairs into surrounding factory finish
Helps blend the gloss of repaired clear coat with the surrounding factory finish for a more uniform appearance.
General paint correction
Removes light scratches, swirl marks, holograms, water spots, and mild oxidation on painted surfaces.
Clear coat scratch removal
Some scratches only affect the clear coat. These may be reduced or removed with polishing, minimizing or eliminating the need for paint touch-up.
Before You Begin
Safety
Surface Conditions
Gather Your Tools
Check off each item before you begin.
Required
ScratchesHappen Polishing Compound
Clean foam or microfiber polishing pad
Clean microfiber towels (multiple recommended)
Good lighting (LED work light or phone flashlight)
Optional (Helpful Extras)
Dual-action or rotary polisher (for larger areas)
Additional clean pads for pad changes
Spray bottle with water (for light pad dampening)
STEP-BY-STEP: How to Use Polishing Compound
Ensure the area is clean, dry, and cool to the touch
Remove dust, residue, or sanding debris
If heavy defects remain, correct them first using sanding or cutting compound if necessary.
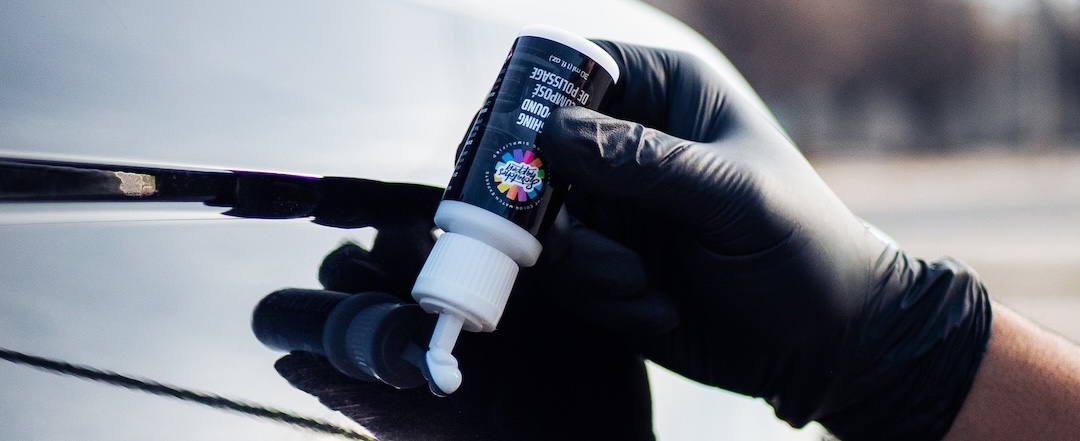
Apply a small amount of compound to:
A foam or microfiber polishing pad, or
Directly onto the surface
Less compound is usually more effective than overloading the pad
Work in small sections (approximately 1–2 ft² or smaller)
Polish by hand or use a machine (dual-action or rotary polisher) for larger areas
Use moderate pressure with overlapping passes
Keep the pad flat against the surface to ensure even polishing
Continue polishing until the surface appears:
Clear
Glossy
Free of visible haze or swirl marks
Stop and inspect frequently under good lighting
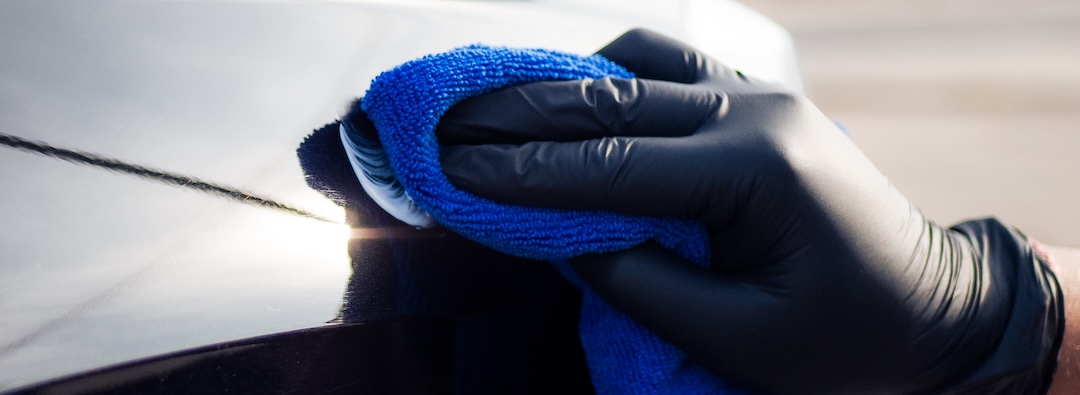
Remove residue using a clean, soft microfiber towel
Flip or change towels as needed to avoid reintroducing residue
Inspect the area from multiple angles and lighting conditions
Check for haze or swirl marks
Pro Tips for Best Results
Use less compound, not more
Clean or change pads frequently
Avoid excessive pressure — let the abrasives do the work
Low heat and steady motion produce the best finish
Always polish after wet sanding, never before
Troubleshooting
Finish Looks Dull or Hazy
Swirl Marks Remain
Compound Is Dusting
FAQs
Is this safe for fresh paint?
Can I polish by hand?
Does this remove deep scratches?
When should I polish after clear coat?
If you need assistance:
USA: support@scratcheshappen.com Canada: support@scratcheshappen.ca
Related Help Docs & Videos
Learn more — from sandpaper grit applications to restoring full gloss.
What Sandpaper Grit Should I Use for Car Paint Repair?
The right sandpaper grit for car paint repair depends on which stage of the repair you’re working on.
My Final Finish Is Not Glossy or Shiny
A dull, satin, or matte finish on an aerosol automotive paint repair is usually caused by clear coat application technique.
How We Mix Your OEM-Matched Paint
See how our color experts hand-blend your paint for a precise match to your vehicle.