In this tutorial, we will cover how to use our body filler kit on a deeply chipped panel to level and smooth the surface before primer and painting. Let's look at the steps:
Step 1: Prepare the Surface
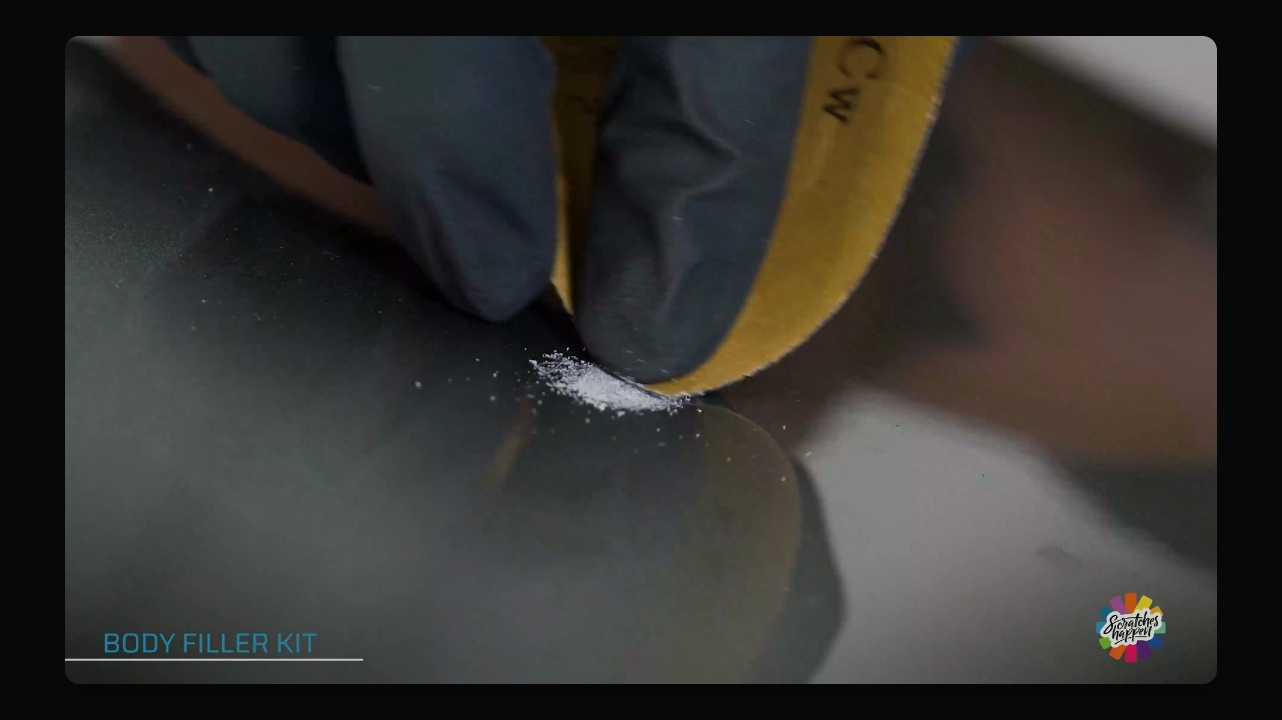
Scuff up the entire low spot with 80 grit sandpaper. Sand the entire area where you will apply the body filler.
Step 2: Apply the Putty
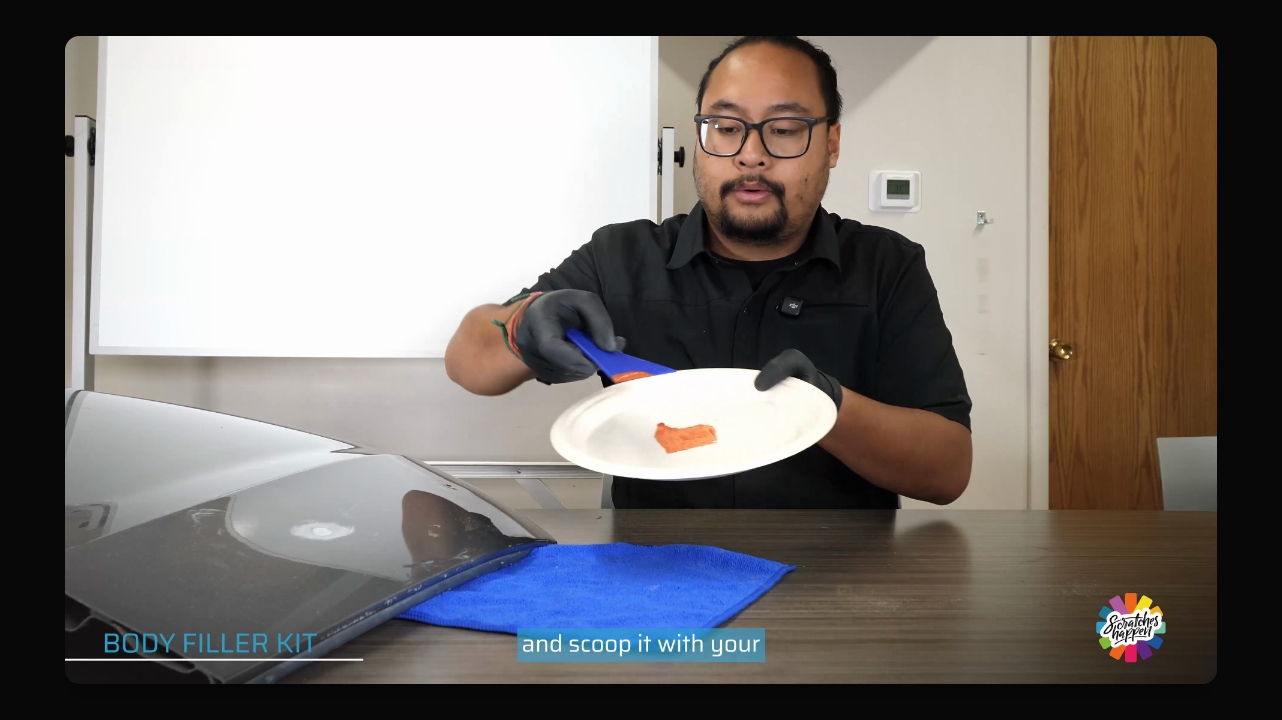
Squeeze out the putty onto a paper plate.
Scoop it with your applicator tool and apply it onto the damaged area of the panel.
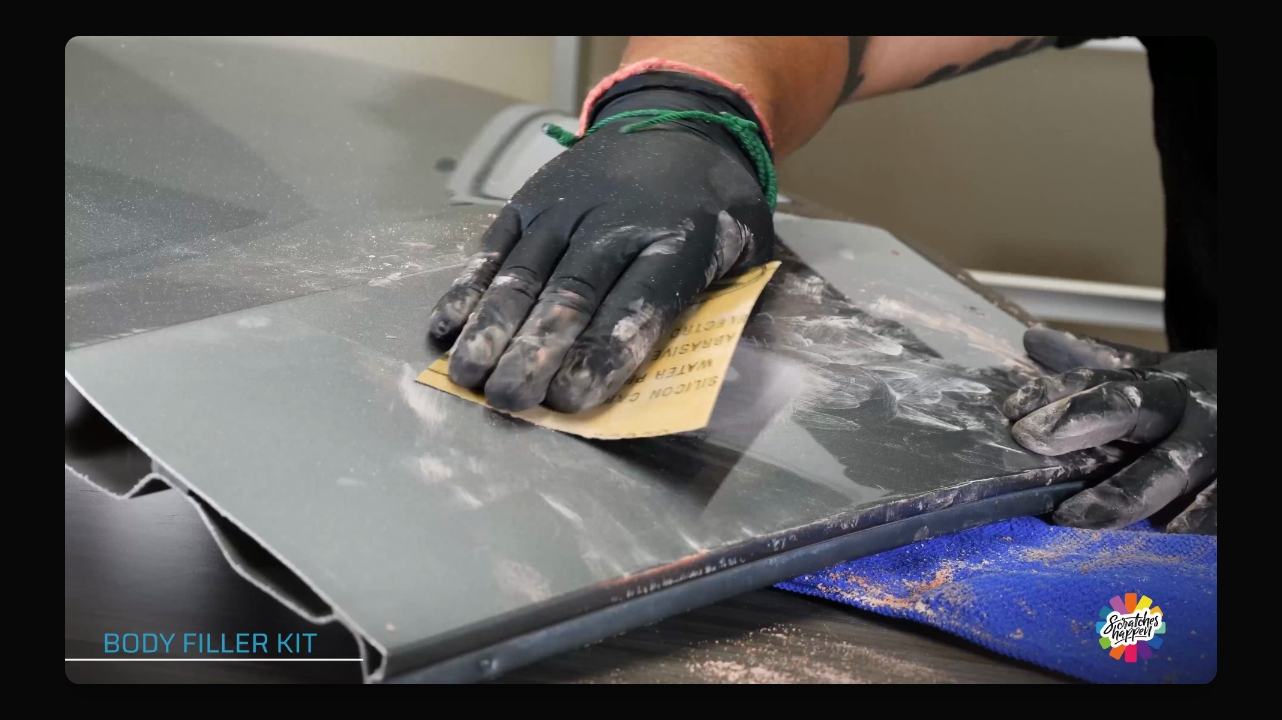
Step 3: Sand for Smoothness
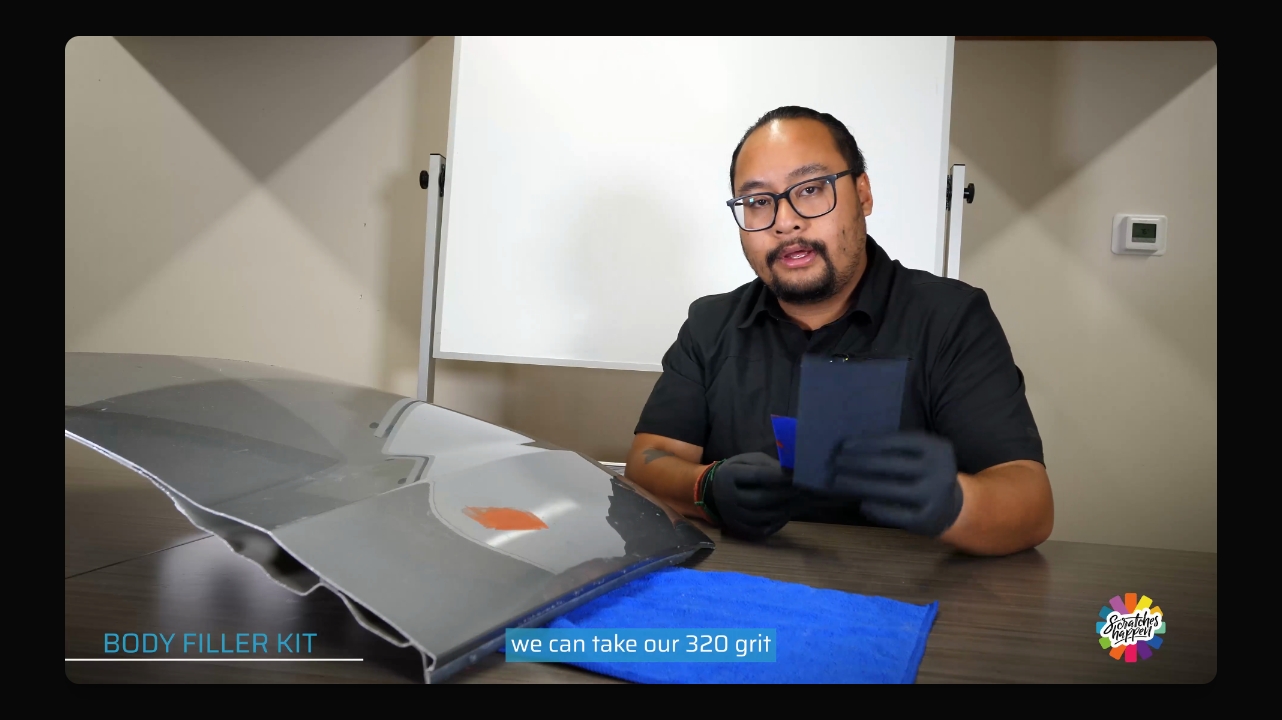
Once the putty is dry, use 320 grit sandpaper with a flat edge. Sand in a cross hatch pattern to achieve a flat surface.
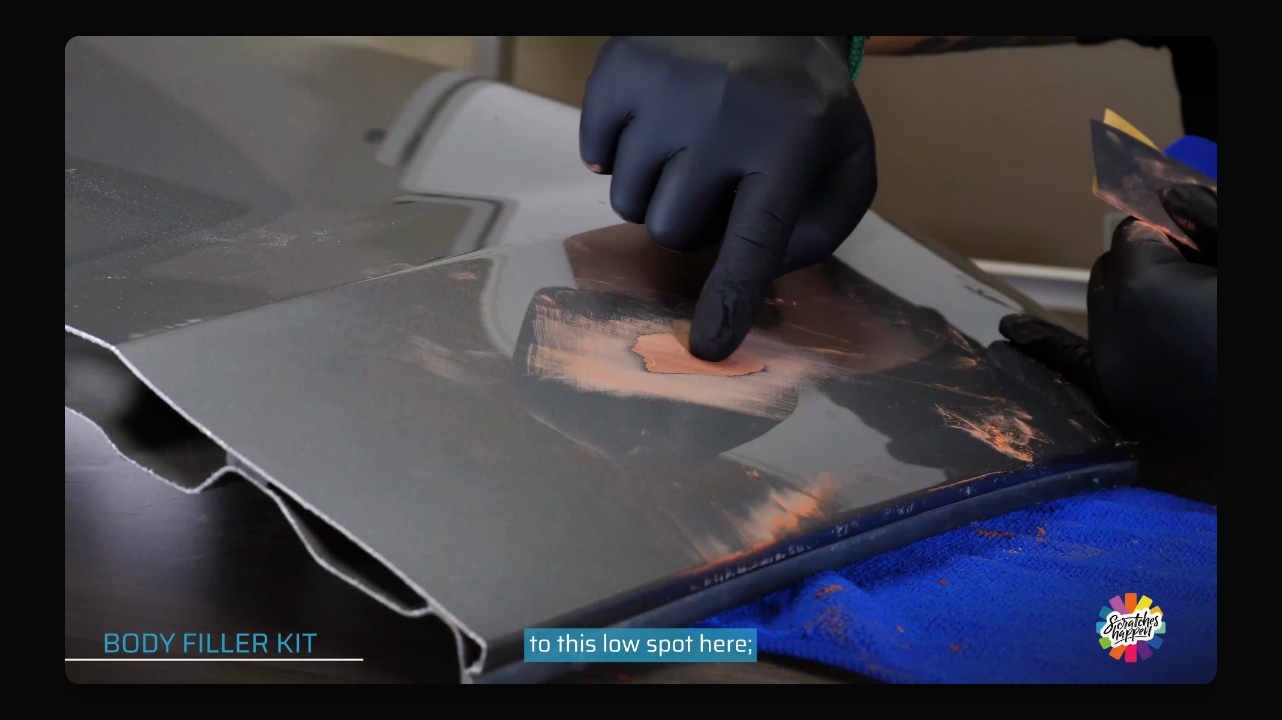
Step 4: Refine the Surface
Continue sanding down to the low spot using the straight edge to remove high spots. Use 600 grit sandpaper to soften scratches.
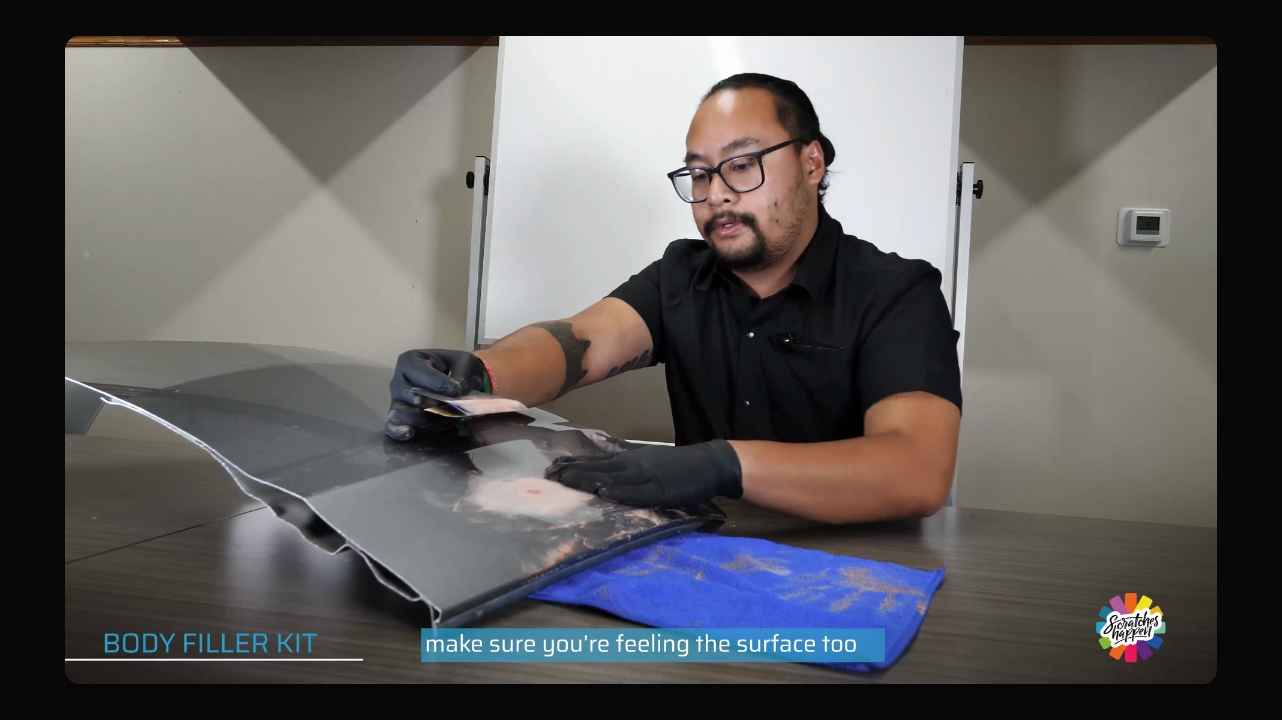
Step 5: Final Touches
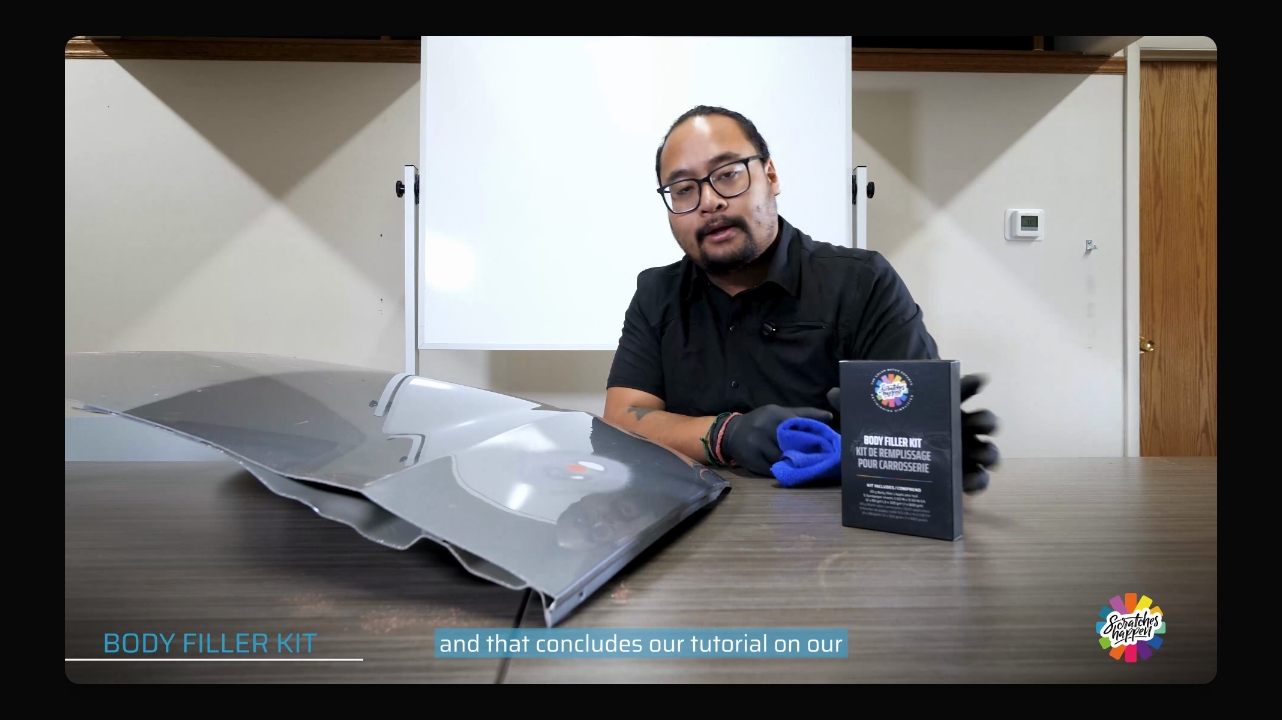
After sanding with 600 grit, ensure the surface is smooth. Wipe it down to prepare for primer.
This concludes our tutorial on using the body filler kit. Be sure to check out our other tutorials on our YouTube channel.
For other accessory products, check out the links below:
FAQ
Is this body filler 1K or 2K?
This body filler is a 1K (single-component) filler. It is ready to use and does not require mixing with a separate hardener. The product cures as it dries.
Can body filler be applied directly to bare metal?
Yes. Body filler can be applied directly to properly prepared bare metal or sanded paint. For best adhesion:
Sand the repair area with 80-grit sandpaper.
Remove all dust and contaminants before applying filler.
After shaping and sanding, always seal the repair with primer before applying paint and clear coat.
Can body filler be applied over existing paint?
Yes, as long as the paint is clean, dry, and thoroughly sanded. Do not apply filler over glossy, contaminated, or peeling paint.
Can body filler be applied over rust?
How thick can body filler be applied?
Body filler should be applied in thin, even layers.
Applying filler too thick can increase the risk of cracking or shrinkage. If more build is needed, apply multiple thin layers and allow each layer to dry before sanding.
Why does body filler crack or shrink?
Body filler may crack or shrink if:
It is applied too thick.
The surface was not properly sanded or cleaned.
It was sanded before fully drying.
The repair area flexes after application.
It was applied in very cold conditions.
Apply thin layers, prepare the surface thoroughly, and allow full drying time to prevent cracking.
How long should body filler dry before sanding?
Allow the filler to fully dry before sanding. Under normal conditions, drying typically takes about 10–15 minutes between coats. Cooler temperatures may extend drying time.
If the filler feels soft or clogs the sandpaper, allow additional drying time.
Can body filler be applied in cold weather?
Body filler performs best at moderate temperatures.
Cold temperatures can slow drying and affect workability. If possible, perform repairs in a temperature-controlled environment.
Can humidity affect body filler?
High humidity may slightly extend drying time. Always ensure the repair surface is clean and completely dry before application.
What grit sandpaper should be used with body filler before applying primer?
Use progressive sanding steps:
80-grit for initial shaping and adhesion
320-grit for leveling
600-grit to refine scratches before primer. Refining scratches before primer helps prevent sanding marks from showing through paint.
When is body filler ready for primer?
The repair is ready for primer when:
The surface feels smooth and level.
There are no visible low spots.
All sanding dust has been removed.
Once cleaned thoroughly, apply primer before paint and clear coat.