An invisible brush-on touch-up depends on three things: color match, a level surface, and clean edges. When a repair doesn't look right, it's usually one of those that's off. Use the guide below to match what you're seeing with the most likely cause — and the article that walks through the fix.
Quick Brush Repair Problem Guide
What you see | Most likely issue | What it usually means |
|---|---|---|
Bumpy or ridged surface, very visible brush marks | Heavy coats / over-brushing | Paint applied too thick or worked too long; brush marks set into the surface as it dries |
Excess paint around the repair | Overpaint at the edges | Paint extended past the scratch boundary onto the surrounding finish |
Repair sits too high on a tiny chip | Too much paint for the damage | Brush-applied paint can be too thick for very small or shallow damage |
Color matches but the scratch is still visible | Depth catching the light | Scratch isn't fully filled; the depth reflects light differently than the surrounding paint |
Choose the Issue That Looks Most Like Your Repair
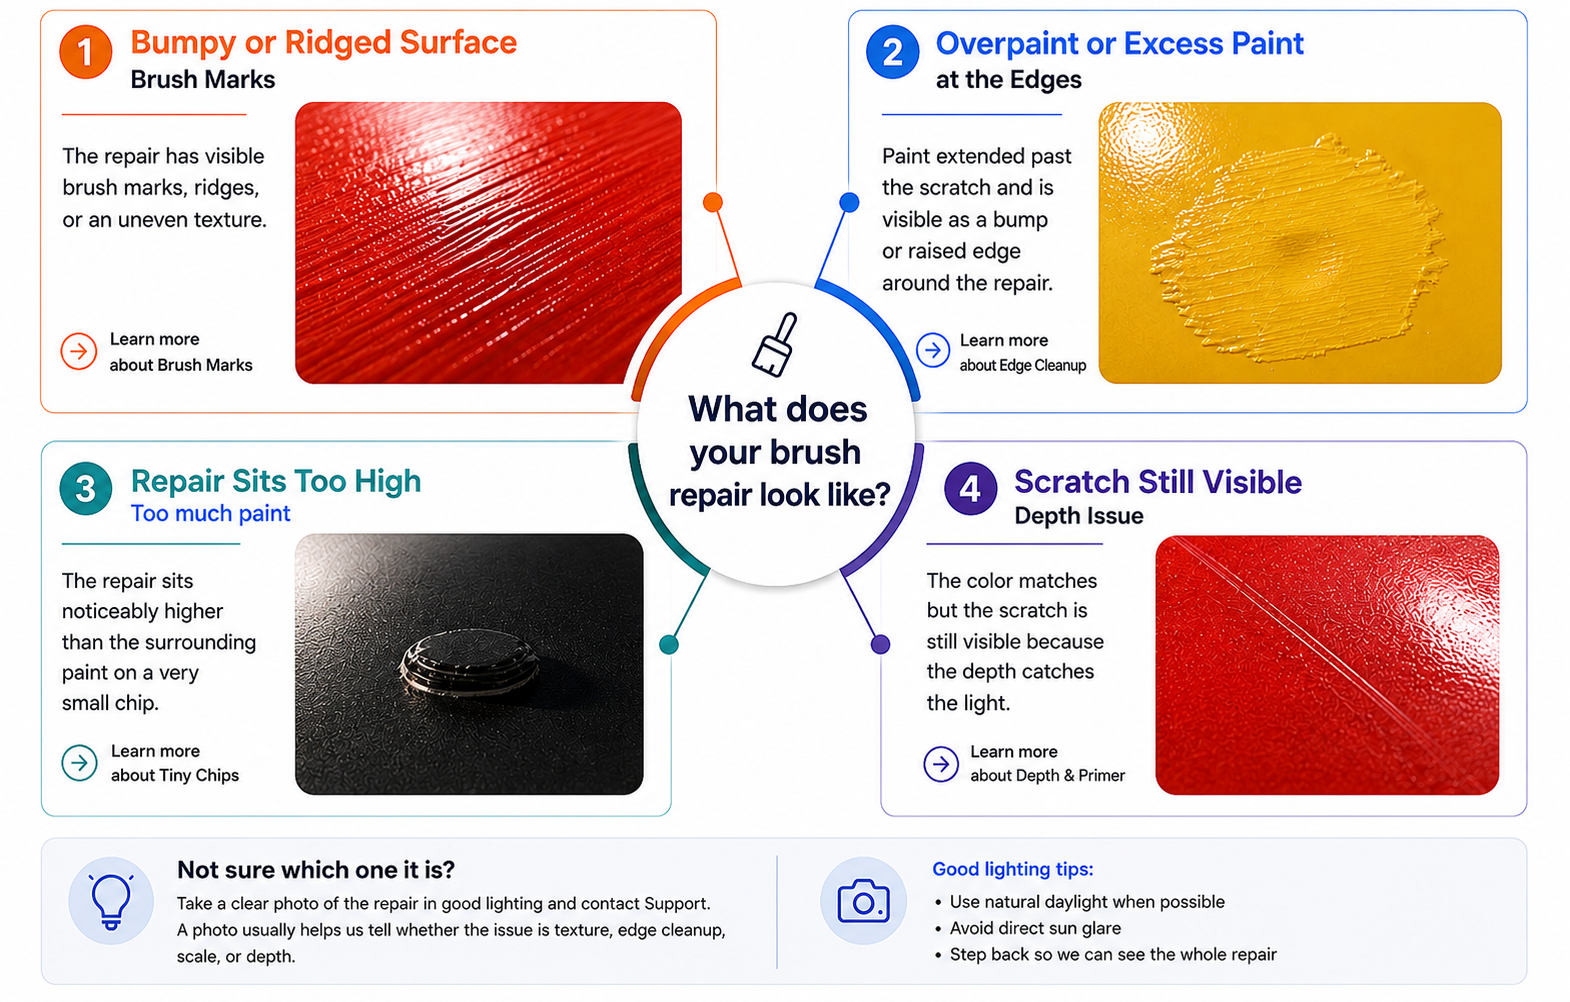
Bumpy or Ridged Surface (Brush Marks)
The repair has very visible brush marks, ridges, or an uneven texture. Usually caused by heavy coats or working the paint too long with the brush.
Learn how to fix it: My Touch-Up Paint Job Doesn't Look Smooth
Overpaint or Paint Bump at the Edges
Paint extended past the scratch and is visible as excess paint around the repair.
Learn how to fix it: How to Remove Excess Paint at the Edges of a Repair
Paint Sits Too High on a Tiny Chip
The repair sits noticeably higher than the surrounding paint on a very small chip. For tiny damage, standard brush application may apply too much paint.
Learn how to fix it: Tricks for Super Small Chips and Scratches
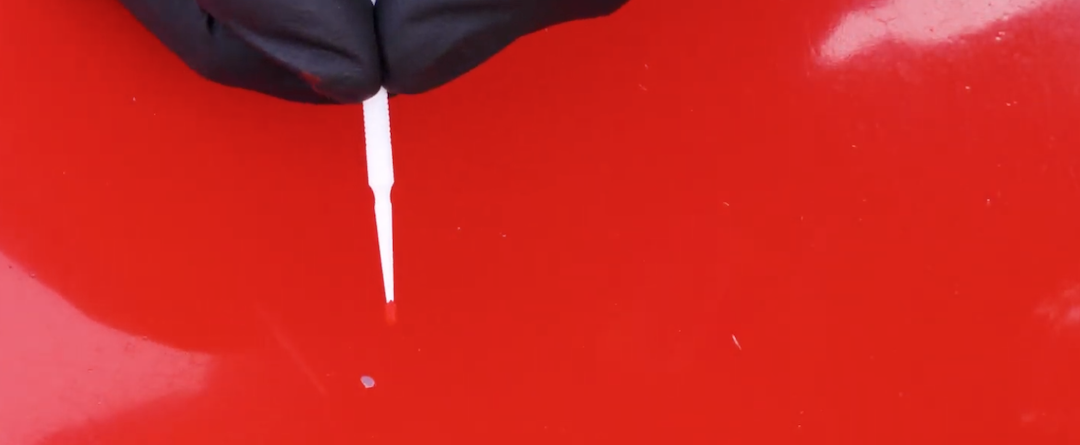
Color Matches but the Scratch Is Still Visible
The color is correct but the scratch is still visible — usually because the depth catches the light. Brush-on paint is only a few microns thick per coat, so deeper scratches need primer first to fill the depth, then paint coats on top.
For very deep scratches or gouges, the repair often grows beyond what brush-on can cleanly handle.
Learn how to fix it: When Should I Apply Primer?. For the broader treatment of depth and how to build it level with thin coats, see also My Touch-Up Paint Job Doesn't Look Smooth.
Customer-Tested Techniques
A few approaches our customers have used with great results — these go beyond the basic application instructions and can help on tricky repairs.
The Squeegee Method
Brush the paint into the scratch, then use the edge of a business card, a thin plastic squeegee, or the edge of the included test card to wipe excess paint away at the edges. The straight edge gives you a clean line and removes overpaint without touching the paint inside the scratch. Works especially well on smaller scratches.
Build the Repair in Thin Coats
Brush paint flows best in thin coats — heavy coats ridge, sag, and leave brush marks. For an invisible repair, expect to apply 4-6 thin coats with drying time between each. The goal each pass is to add a thin layer, not to cover the scratch in one go. For more on coat-by-coat technique, see Tricks for Super Small Chips and Scratches.
When Brush-On Isn't the Right Tool
For most chips and scratches, careful brush-on technique gets the right result. Some repairs are better suited to a different tool from the start:
Larger repairs or clusters of chips on the same panel — aerosol application
Highly visible repairs that need putty filler and sanding (which expands the repair area) — aerosol application
Small scuffs in particular — airbrush works well
For the brush-vs-spray decision, see When to Brush and When to Spray.
For aerosol-specific finish issues, see What's Wrong With My Aerosol Paint Finish? (Quick Diagnosis Guide).
FAQ
How do I know which issue I'm dealing with?
In good lighting, look at the repair from a few angles. Ask: is the surface texture wrong (bumpy, ridged, brushy)? Is there visible material outside the scratch (halo, ring)? Does the repair sit higher than the surrounding paint? Or does the color match but the scratch still catch the light? Each one maps to a different fix in the guide above. If you're unsure, take a clear photo in natural daylight and contact Support — a photo usually makes the diagnosis straightforward.
What if my repair has more than one of these issues?
Common — multiple issues often appear together. A repair sitting too high often also has excess paint at the edges, for example. Or, in the yellow image above, the chip wasn't sufficiently filled in and the paint exceeds the edges of the chip.
Tackle the most disruptive one first: depth, surface texture, then edges.
Depth issues sometimes mean redoing the repair from scratch, so addressing them first avoids wasted edge cleanup or texture work.
Why does my repair look different in different lighting?
Light angle is what makes most repair issues visible. Direct sunlight catches surface texture and depth differences that disappear under flat indoor lighting. If your repair looks great in the garage but rough in direct sun, that's not a defect you missed — direct light is just a more demanding test. A repair that holds up in direct sunlight is genuinely invisible.
Can I fix the dried bare paint, or do I need to start over?
Depends on what's wrong. Overpaint at the edges of bare paint can usually be cleaned up with a dabber and water (see How to Remove Excess Paint at the Edges of a Repair).
But if the surface has brush marks or ridges set into it, the cleanest path is usually to remove the paint and reapply with thinner coats — sanding or polishing bare paint will remove it entirely.